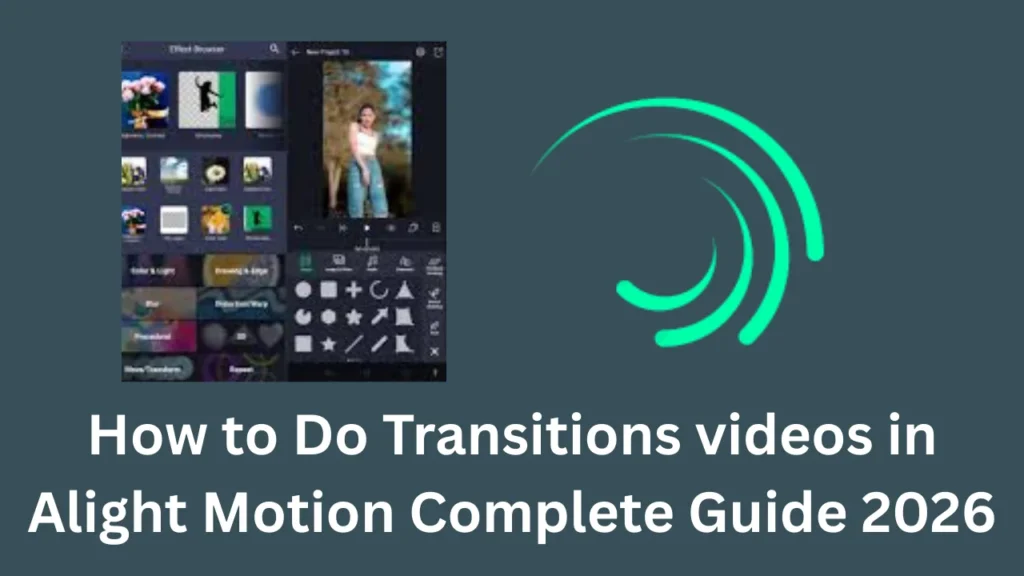

How to Do Transitions videos in Alight Motion Complete Guide 2026
Professional video editing isn’t just about the clips you film. It’s actually about the way you connect them. In 2026, everyone wants smooth storytelling, and learning Alight Motion transitions is the quickest way to make a basic edit look viral. Whether you’re making an AMV or a simple social media ad, this guide will show you how to get that flow right.
What Is a Transition in Video Editing?
A transition is just a visual bridge between two different clips. Instead of a “hard cut”
where one video just snaps into the next, a transition blends them together. It keeps
the video moves naturally so your viewers don’t lose interest.
What Is Alight Motion Transition?
In Alight Motion, transitions aren’t just simple buttons you click. While you can find
presets, a real “Alight Motion Transition” is usually made by hand using key frame
animation. You move, scale, and rotate layers using interpolation graphs to get that
fluid motion you see in top-tier edits.
Why Use Transitions in Your Videos?
- Pro Look: Good transitions hide the fact that you’re editing on a phone.
- Keep Viewers Hooked: Smooth movement stops people from scrolling away.
- Vibes: A slow fade feels different than a fast, aggressive shake.